While exploring Lusno Falls, our guide, Jar, casually asked if we had ever heard of Cambanog Falls.
Up until that moment, I hadn’t. But I was instantly intrigued.
He mentioned it was just a short walk away, downstream of the river through the farmland, and he could take us there.
With no set plans, we decided to go for it.
We set off back into the farmland, past grazing cows and sleeping pigs, crisscrossing between farm plots.
By the time we arrived at Cambanog Falls, our feet were completely caked in mud. But the sight of the waterfall before us made every step worth it. This was one of the most unique waterfalls I’d ever seen.
In this guide, I’ll share exactly what you need to know before visiting Cambanog Falls in Cebu, including how to get there and what to expect when you arrive.

Cambanog Falls Complete Guide
Cambanog Falls is one of Cebu’s most off-the-beaten-path waterfalls, tucked away in the middle of farmland. When we visited, we were the only tourists around, and the only others we saw were farmers watching over their carabaos as they stood in the river. It was a true glimpse into Filipino farm life.
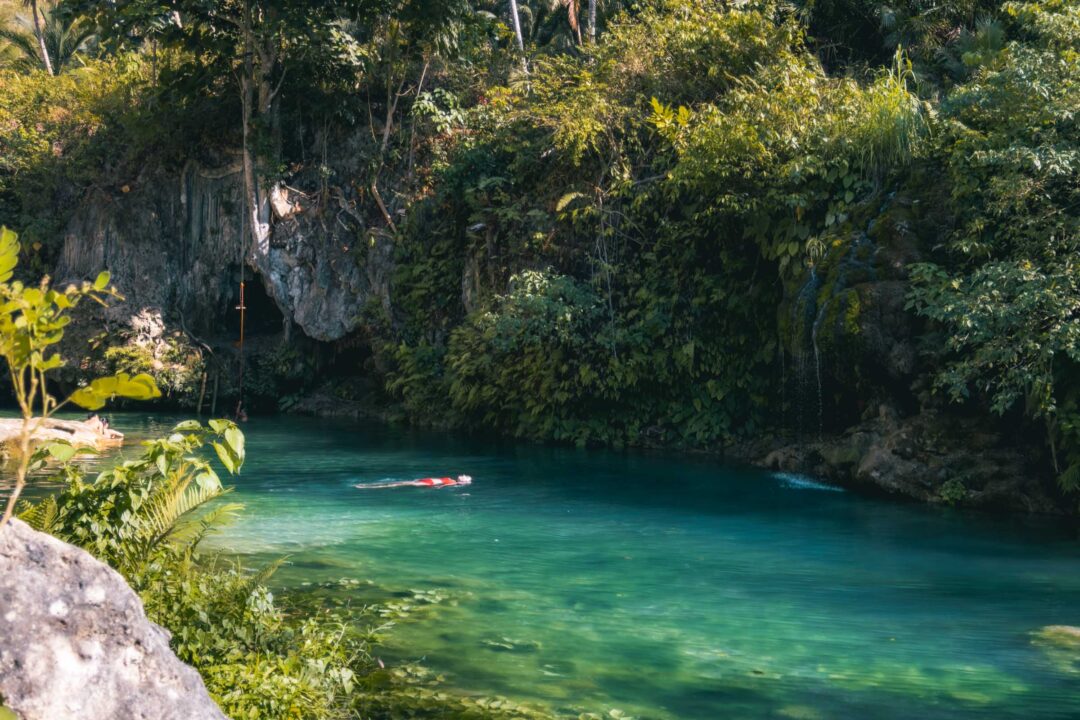
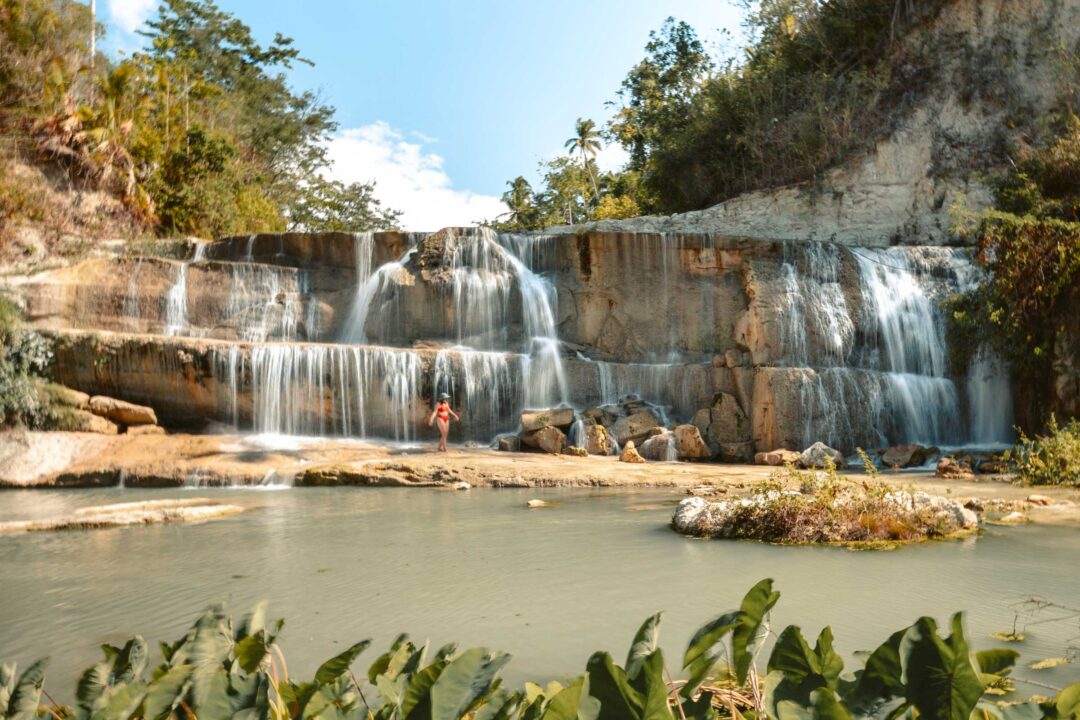
What makes Cambanog Falls special is its unique, multi-tiered structure. Instead of a towering single drop, the waterfall sprawls wide across the river, cascading down flat, layered rock formations that look like natural steps.
It’s a lot more horizontal than vertical, and the water gently flows over these limestone ledges, creating smooth, wide rock surfaces. It’s very unique and I’ve never seen another waterfall like it.
Getting to Cambanog Falls is an adventure in itself. There are no marked trails, and navigating through farmland and river crossings to get to the falls is nearly impossible without a guide.
Fortunately, when you arrive at Lusno Falls (the entry point), there are local guides who can take you there. That’s what happened with us.

How to get to Cambanog Falls
Cambanog Falls is located in the Ronda area of Cebu, downstream from Lusno Falls. It’s not often visited by tourists, so the best way to get there is by motorbike.
The journey to Cambanog Falls starts the same way as Lusno Falls. You can use the map location below to navigate to Cambanog Falls. It will take you along well-paved roads until you reach a small house with a sari-sari store and a parking area. From there, you’ll begin your hike to Cambanog Falls.
Unlike Lusno Falls, Cambanog Falls isn’t well known. We hadn’t even heard of it until our guide, Jar, mentioned it.
Because there are no marked trails, navigating through the farmlands to reach Cambanog Falls is nearly impossible without a guide. The route winds through narrow, unmarked footpaths that cut across private farmland. It’s critical to have a guide who knows the way.
The hike itself isn’t long, it’s a little tricky. There is a river crossing so you will get wet. On our trip to Cambanog Falls, our feet got caked in slippery mud, which made walking a lot more difficult.
Getting to Cambanog Falls is the same process as visiting Lusno Falls. However, Cambanog Falls is not really well known and we hadn’t heard of it before we visited it.
I highly recommend visiting both Lusno Falls and Cambanog Falls on the same trip like we did. They share the same entry point, so you’ll only need to pay once: 20 pesos per motorbike for parking and 50 pesos per person for entry.

Cambanog Falls: Our experience
As we were wrapping up our time at Lusno Falls, our guide, Jar mentioned that he could take us to Cambanog Falls. I hadn’t heard of Cambanog Falls, but he told us it was a short walk away, through the farmland, a bit downstream of the river.
The walk to Cambanog Falls took us even deeper into the farmland, where we passed some of the cutest animals. Pigs were lazily sprawled in the mud and cows stood out in fields under the shade.
Jar pointed out which cows were friendly enough to pet, and I couldn’t resist. I asked Jar if they ever ate them, but he laughed and shook his head, “No, but we drink their milk.”


Soon, we came to our first big river crossing.
The water was shallow but fast-moving, and we immediately regretted wearing flip-flops. The sediment from the river clung to them like clay. Every step was slippery, and we both had difficulty walking with our footwear literally trying to jump out from underneath our feet.
As we made our way across the river, I spotted a group of carabaos lounging in the water, their heads barely sticking out above the surface. I thought it was so cute! It was a scorching day, and I couldn’t blame them for seeking out the coolest spot. Their owners sat along the riverbank, watching over them. We waved at them as we walked by and they smiled and waved back.


When we arrived at the falls, I thought for a moment that Jar was messing with us. He told me we had to cross the top of the waterfall to get to the bottom. I asked if there was another way, and he pointed out a narrow trail on the opposite side.
With no other choice, I took a deep breath and stepped onto the waterfall. To my relief, the limestone was surprisingly grippy, so I breathed a sigh of relief and slowly made my way across.
But before tackling the full crossing, we decided to cool off! We dunked our heads under the waterfall which was something I later regretted but we’ll get back to that soon!


Toward the end of the crossing, the path narrowed, and I stepped over this very sketchy area with a stream of water rushing right through it. Jar helped guide me across this section as it can be a little challenging to get past unless you jump, like Trey did.
The final stretch of the trail wound down the side of the waterfall and was steeper than I expected. At that point, I just took off my flip-flops because their slipperiness was causing more problems than helping me.

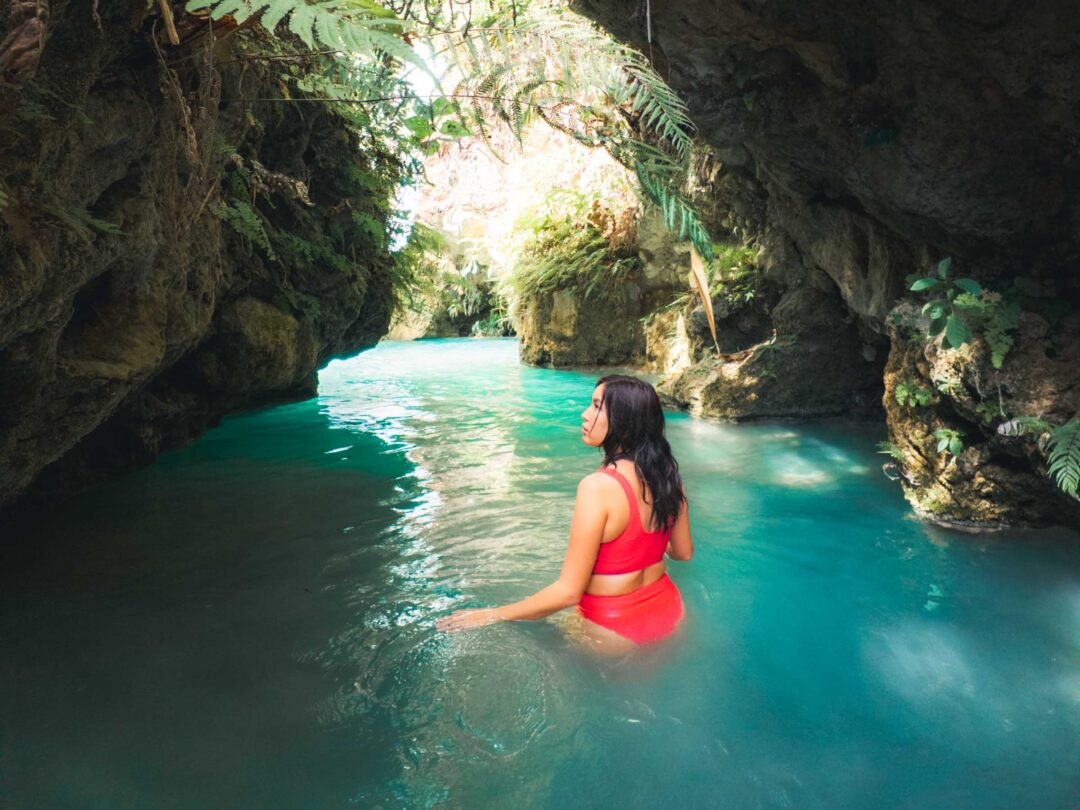
We stepped into the river valley and looked back up at the falls. I finally had a full view of Cambanog Falls, and it was unlike any waterfall I had seen before.
Instead of a single drop, it spread out wide, cascading down multiple horizontal tiers. At its base, a large flat rock shelf made it easy to walk right beneath the falling water. I splashed around for a bit until I remembered all the farm animals upstream. But happy to say I survived and this waterfall might just be my favorite one of them all in Cebu – even if its not the best for swimming.

The walk back out was more challenging than expected. Our flip-flops were completely coated in slippery mud and they refused to stay on our feet. We gave up and just went barefoot.

By the time we reached the sari-sari store where our motorbike was parked, we were exhausted but happy. We tipped Jar well for guiding us on such an incredible adventure, and to celebrate, we each bought a bag of Super Crunch and enjoyed our snack together.
Cambanog Falls Photos


Where to Stay in Cebu
For most travelers, Moalboal is the best place to stay. It’s close to the Sardine Run, White Beach, and within range of Kawasan Falls Canyoneering.
Moalboal has a good mix of resorts, hostels, and food spots, making it a solid base for exploring Cebu.
If you’re planning to stay longer than 5 days, I recommend doing what we did by splitting your time between Moalboal and Oslob.
Oslob gives you easier access to whale shark watching, Sumilon Island, and nearby waterfalls like Tumalog and Binalayan. This way, you cut down on travel time and get to see more.
Here’s where we stayed at and recommend in Cebu:
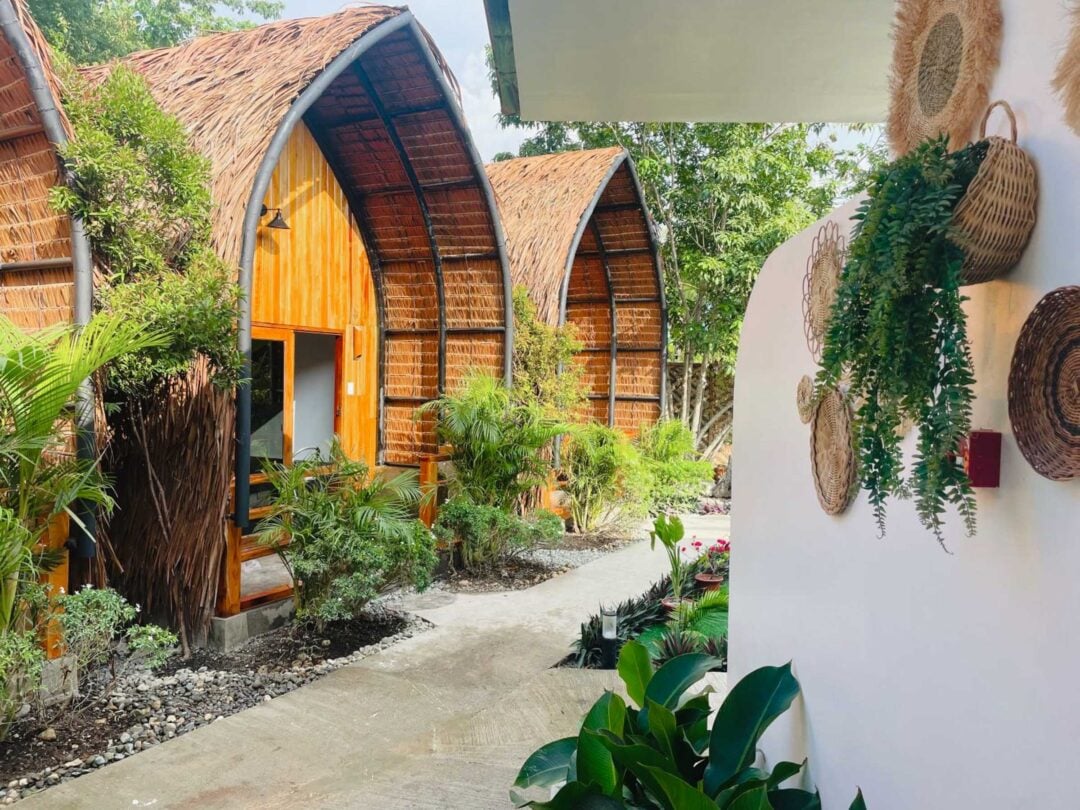
- Moalboal: 3 Sisters Guest House 2 is just off the main strip in Moalboal, but still within walking distance of everything. We appreciated the security and cleanliness of the accommodation and ate breakfast there every morning of our stay.
- Oslob: Melronz Inn is situated a bit outside the town center, making it quieter and more relaxed. And the best part is that it’s located right on the water, with its own private ocean access.

What to Pack for Cebu
- Water Shoes: If you plan to go canyoneering, a solid pair of water shoes like these are needed. If not, you can always wear crocs or even your sneakers if you don’t mind them getting wet!
- Snorkel: With sardine run in Moalboal and whale shark watching in Oslob, it helps to have your own snorkel set like this one for the best experience! Plus, you won’t need to worry about renting a snorkel, which may be of… questionable quality.
- Sunscreen: For some reason, sunscreen is expensive in the Philippines and I’ve even encountered places selling fake sunscreen that doesn’t work! So I recommend bringing your own sunscreen to Cebu.
- Dry Bag: With all the sand, salt, and water flying everywhere during our adventures, I was so glad to have a dry bag to keep all my things safe from the elements!
- Travel Towel: In my opinion, a travel towel like this one is super necessary for a trip to Cebu! It packs down nicely and was there for me anytime I went swimming, or just needed to brush sand or dirt off.

Our Free Cebu Google Maps Locations
Want a free map of all of the locations mentioned in this post? Sign up in the box below and we’ll deliver one right to your inbox, plus our top tips to help you plan your Cebu trip!
Need more Cebu travel ideas?
During our 7-day adventure in Cebu, we found some of the island’s most stunning natural wonders—milky blue waterfalls, limestone hikes, and incredible snorkeling spots. To help fellow adventurers, we’ve put together guides to the best places we found. You can check them out by clicking the links below.
- Start your planning here: Cebu Travel Guide
- Our Ultimate Guide to Cebu: 15 Incredible Things to Do in Cebu
- How to plan your Cebu vacation: Cebu 3 Day Itinerary
- Our Moalboal accommodation guide: Where to Stay in Moalboal
- Our favorite waterfall (+ secret adventure) in Cebu: Inambakan Falls
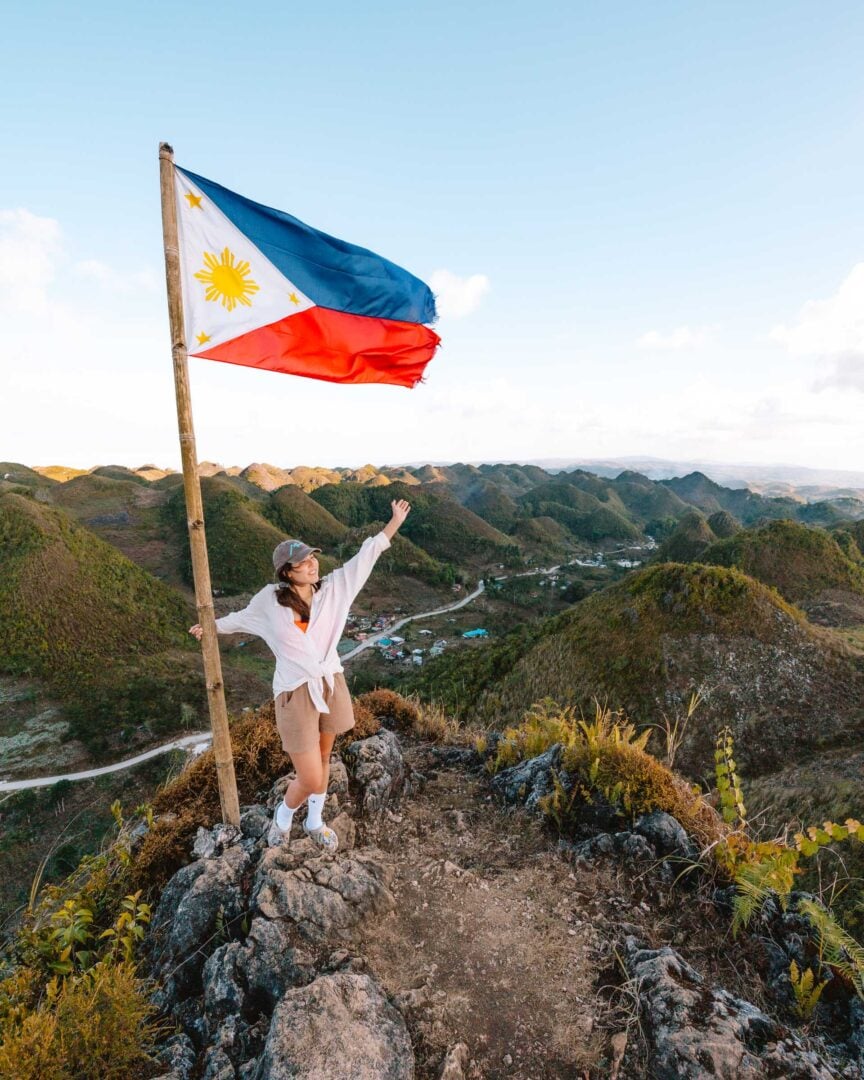
- Hike to the highest point in Cebu: Osmeña Peak
- Our favorite hike in Cebu: Casino Peak
- Our favorite day tour in Cebu: Kawasan Falls Canyoneering
- The hottest hot spring we’ve ever visited: Mainit Hot Spring
- How to see the Moalboal Sardine Run without a tour
- Oslob Whale Shark Watching Complete Guide
- How to get from Cebu City to Moalboal
- How to get from Moalboal to Oslob
- How to rent a motorbike in the Philippines

I hope you enjoyed our guide to Cambanog Falls in Cebu! Feel free to leave a comment below if you have any questions 🐸