For many people who visit Mount Rainier National Park, the Skyline Trail is the absolute climax of their journey. The trail winds through the famous Paradise Meadows and climbs up to Panorama Point, all while delivering nonstop views.
In the summer, wildflower fields blanket the meadows, while deep reds and golds amass over the landscape in the fall. And of course, Rainier itself towering above it all.
But all that beauty attracts crowds. The Skyline Trail is the park’s most popular hike, which means you’ll be sharing it with other visitors.
So in this guide, I’ll share everything you need to know before hiking the Skyline Trail, including the best time to go, how to get there, and which direction to hike the loop (it makes a difference). I’ll also share my own personal experience on the trail to help you plan your perfect day on Mount Rainier’s most iconic route.


Skyline Trail Complete Hiking Guide
The Skyline Trail is a 5.5-mile loop trail through the subalpine meadows of Paradise in Mount Rainier National Park. The trail begins at the Paradise Visitor Center, where a network of paved pathways crisscrosses over the landscape.
The beauty of the Skyline Trail is that you can go as near or as far as you like, and the views are incredible either way.
Here are some landmarks that you will pass while hiking the Skyline Loop:
- Myrtle Falls: A 72-foot waterfall into a narrow gorge, with Mount Rainier perfectly framed in the background. One of the iconic landscapes of the entire national park.
- Glacier Vista: A viewpoint overlooking the Nisqually glacier.
- Panorama Point: A rocky perch that provides 360-degree views of the surrounding landscapes of Mount Rainier and the Tatoosh range, and even as far as Mount Adams and Mount Hood on a clear day.
- Stevens-Van Trump Monument: A stone monument from 1921 in the location of the camp from which PB Van Trump and Hazard Stevens made the first ascent of Mount Rainier in 1870.


Should you hike the Skyline Trail loop clockwise or counter-clockwise?
From what I observed, the vast majority of people hike the Skyline Trail clockwise.
The clockwise route gives you the best views of Mount Rainier during the climb, and also passes through the Alta Vista area, which is one of the most scenic (and social media viral) areas of the trail.
By hiking clockwise, you will also get to Glacier Vista and Panorama Point earlier in the hike, potentially before they get super crowded. So if your goal is to start early and enjoy those spots before the crowds show up, then hiking clockwise is the best choice.

I chose to hike counter-clockwise. That allowed me to be one of the first people at Myrtle Falls before the crowds showed up. I also got to enjoy the trail in relative solitude as the sun came up.
But as I hiked past the waterfall, the trail dipped down as it approached Mazama Ridge, so I lost view of Mount Rainier for a moment. If you’re aiming for golden-hour shots of Mount Rainier, that momentary disappearance can be a little disappointing.
But I did hike through the Paradise River meadow with sunrise light spilling over, which in my opinion made the counter-clockwise route worth it.

But no matter which direction you hike, the skyline trail is packed with epic views. So my advice is to just go with your gut, and don’t overthink which direction you hike because. You will have an awesome time either way.
What is the best time to hike the Skyline Trail?
The best time of day to hike the Skyline Trail is first thing in the morning as the sun rises, weather permitting. Hiking early means you will have the coolest weather on an otherwise hot, exposed, sunny trail.
Alternatively, you can hike the trail in the afternoon for sunset. But then you risk hiking down in the dark, so bring a headlamp. Either way, you should avoid starting in the late morning or the middle of the day since the sun will be out in full force. The Skyline Trail is fully exposed for most portions with little to no shade.
The best time of year to hike the Skyline Trail is mid-July to mid-August when the wildflowers are in full bloom. The wildflower blooms shift every year depending on the weather, but generally, that window is a good bet for wildflowers.
Another good time of year to hike the Skyline Trail is from late September to early October for the fall colors. During autumn, the mountain turns intense shades of yellow, orange, and red. But the weather can be dicey during fall as the season changes. The weather gets colder with more chances of rain, fog, and shorter days.

Skyline Trail Hike Details
- Hike Distance: The total distance of the hike is a 5.5-mile loop.
- Hike Duration: The hike takes approximately 5-6 hours to do the entire loop.
- Hike Difficulty: The trail’s difficulty is moderate. The trail is in good shape, but most of the hike has zero shade, so bring plenty of water and sun protection.
- Hike Incline: The hike has an elevation gain of about 1,900 feet if you do the entire loop.
- Dogs are NOT allowed on this trail because it is located in Mount Rainier National Park.
- A Mount Rainier Entrance Pass is required to hike the Skyline Trail. The trail entrance for the Skyline Trail is located in the Paradise area of Mount Rainier. The best way to access this trail is to go through the Nisqually entrance.

How to get to the Skyline Trail
The Skyline Trail is located in the Paradise area of Mount Rainier National Park. The best entrance is through the Nisqually Gate on the southwest side of the park.
The trail entrance for the Skyline Trail is located behind the Paradise Visitor Center. The entrance leads to a somewhat confusing network of paved trails, so follow the signs for the Skyline trail to stay on track.
It is the absolute most popular hiking trail in the entire park, so the parking lot fills up fast. Even on weekdays. For that reason, I recommend getting to the trailhead as early as you can. I got there before sunrise and started my hike just as the sun was coming up. Even then, the trail was busy.
The map location below for the trailhead for the Skyline Trail is accurate and can be used to navigate there.

Skyline Trail Hike in Mount Rainier: My Experience
My Skyline Trail adventure began in the dark. I knew how popular this hike is, so I pulled into the Paradise parking lot about half an hour before sunrise, only to find it already half full of cars.
Once I hit the trail, though, I didn’t see as many people as I expected. I had chosen to hike the loop counter-clockwise, while most people go clockwise.

That meant my first stop at Myrtle Falls was almost empty, and I caught the sunrise in peace. For that first stretch, I only saw a handful of other hikers who were going the same direction as me.
After Myrtle Falls, the trail dipped into a forested stretch, and Rainier disappeared from view. I pushed through this area quickly, eager to get back up to elevation where the mountain would reappear. And soon enough, it did.

The trail turned and started following Mazama Ridge. I passed a small monument marking the camp from where P.B. Van Trump and Hazard Stevens made the first recorded ascent of Mount Rainier in 1870.
It blew my mind to think about them climbing the mountain in a single day, with nothing but the primitive gear they had back then.

I spotted a short detour toward Golden Gate Falls, so I decided to check it out. But this late in the season (September), the flow of the falls was reduced to a trickle. If you’re hiking earlier in summer, though, it might be worth checking out.

As I hiked higher, the trees gave way to an open subalpine meadow. Rainier peeked back into view.
And with the views, so did the crowds.
At first, it was just a few groups coming from the opposite direction, then a steady stream, and finally a non-stop flow of people. That’s when it clicked for me: all those cars in the lot had belonged to hikers going clockwise, and now they were making their way around the loop.

After I pressed on through the meadow, the landscape cleared out and the already sparse vegetation became even sparser.
The landscape became barren and rocky, dominated by dust and gravel with a few patches of grass in between. It reminded me of The Burroughs in the Sunrise area on the east side of Mount Rainier.

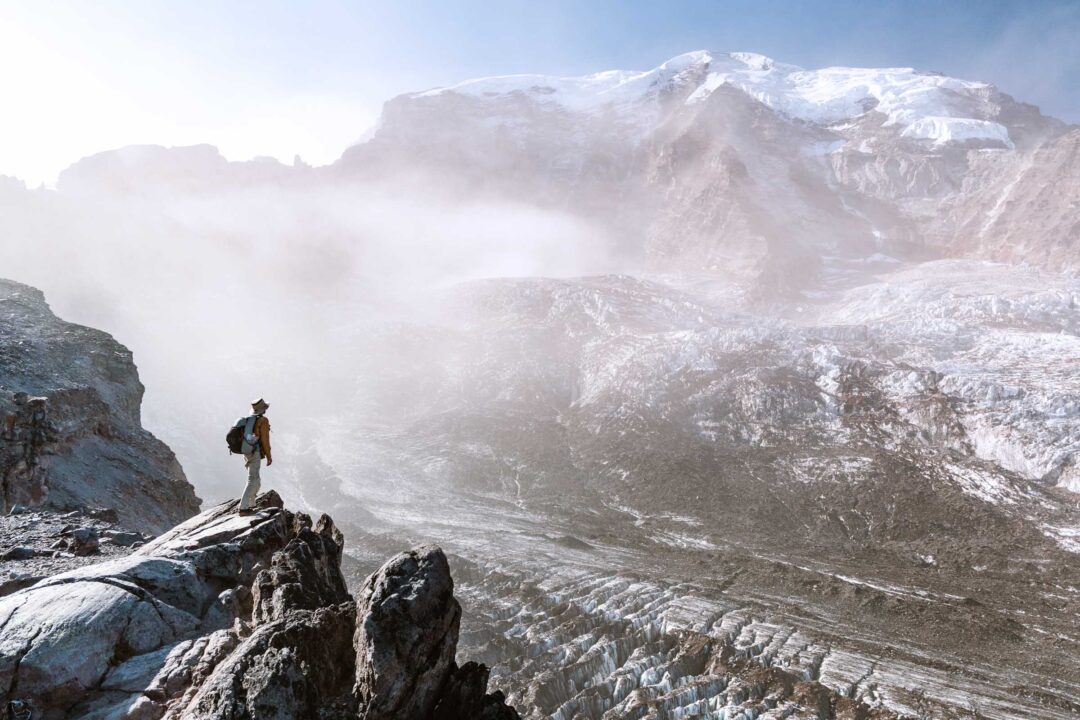
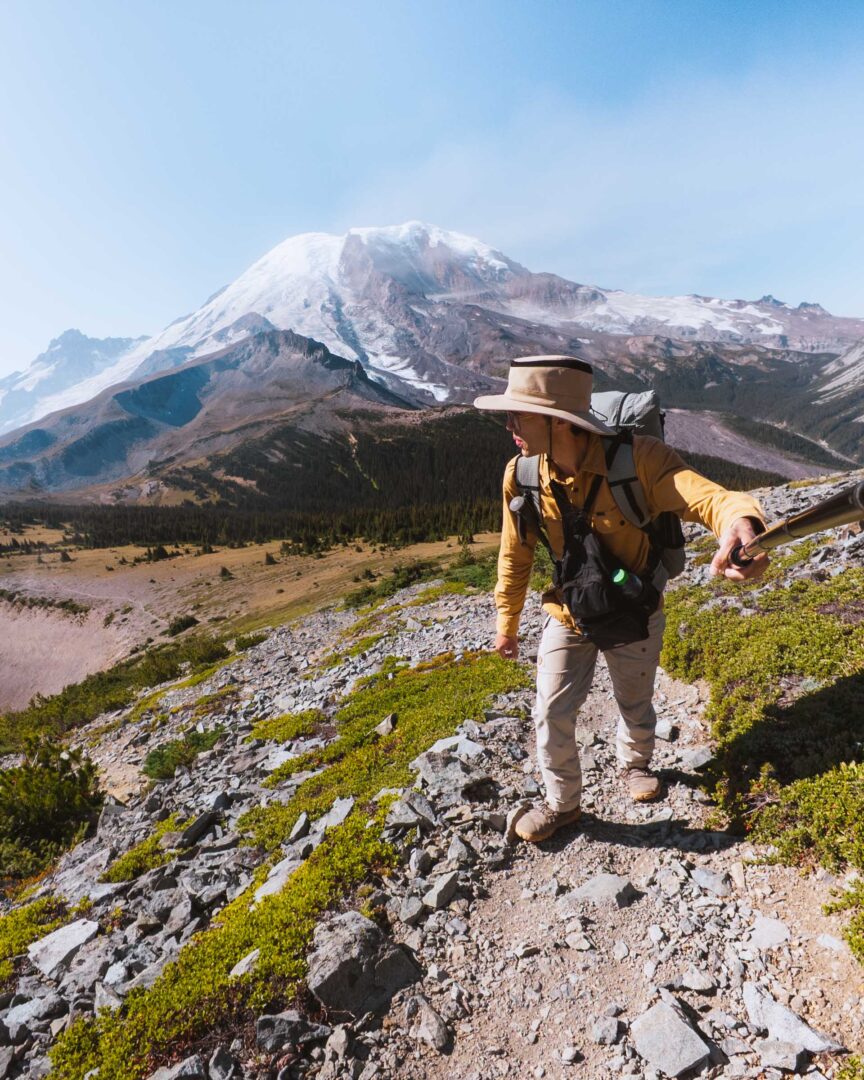
Reaching the high point of the loop was incredible. From there, I had the closest view I’ve ever had of Rainier’s summit. The intricate textures of the Nisqually Glacier were in full view.
It’s always amazing being this high up the mountain, because even though I had hiked up so far, the mountain is so massive that it was still much further to the top.
I stopped there for a while to enjoy a snack and marvel at the mountain’s summit. By then, the sun was blazing, and the exposed trail was heating up fast. I was relieved to know that it was all downhill from here.
My hike back down the Skyline Trail was eventful. I spotted a marmot right off the trail and managed to snap a photo. The wildlife seemed unfazed by people, and this marmot was no exception.

Every resting spot from Panorama Point to Glacier Vista was buzzing with people enjoying the views.
Finally, I reached the paved pathways again. After miles in the open sun, it was a relief.
But it also became clear why so many people prefer to hike clockwise.
This side of the loop was incredible, with the path leading through meadows that seemingly go straight towards Rainier.
I can only imagine how incredible the trail must look in peak summer, with wildflowers exploding, blanketing the meadows. And I can’t wait to come back in the fall, when the autumn colors are in full effect.

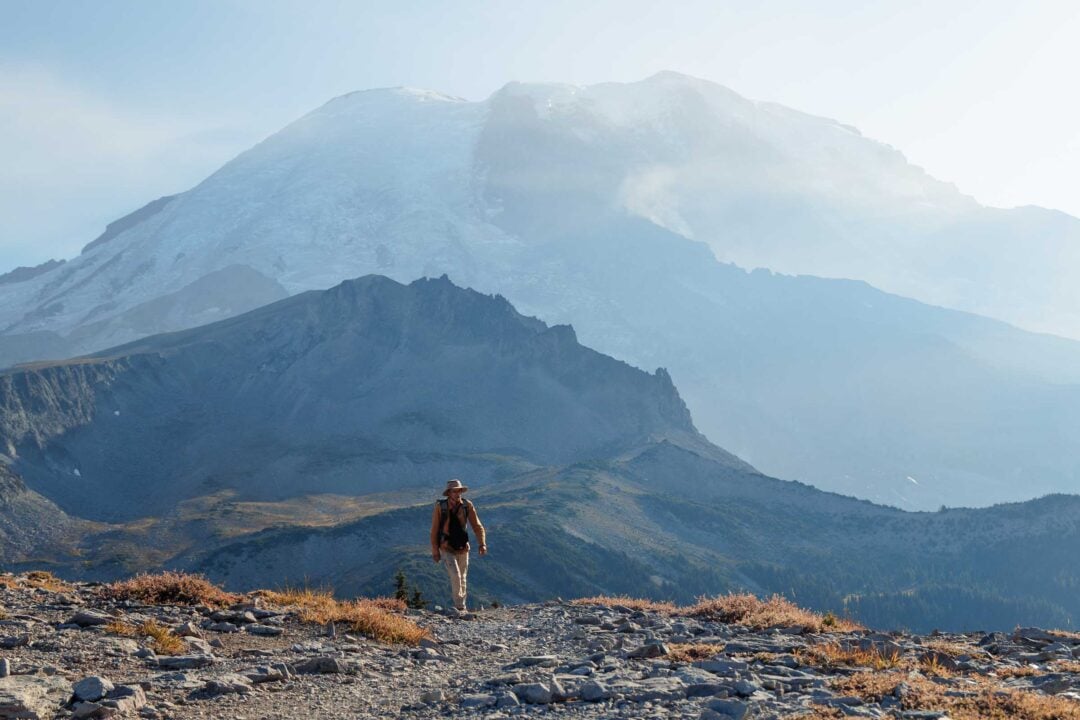
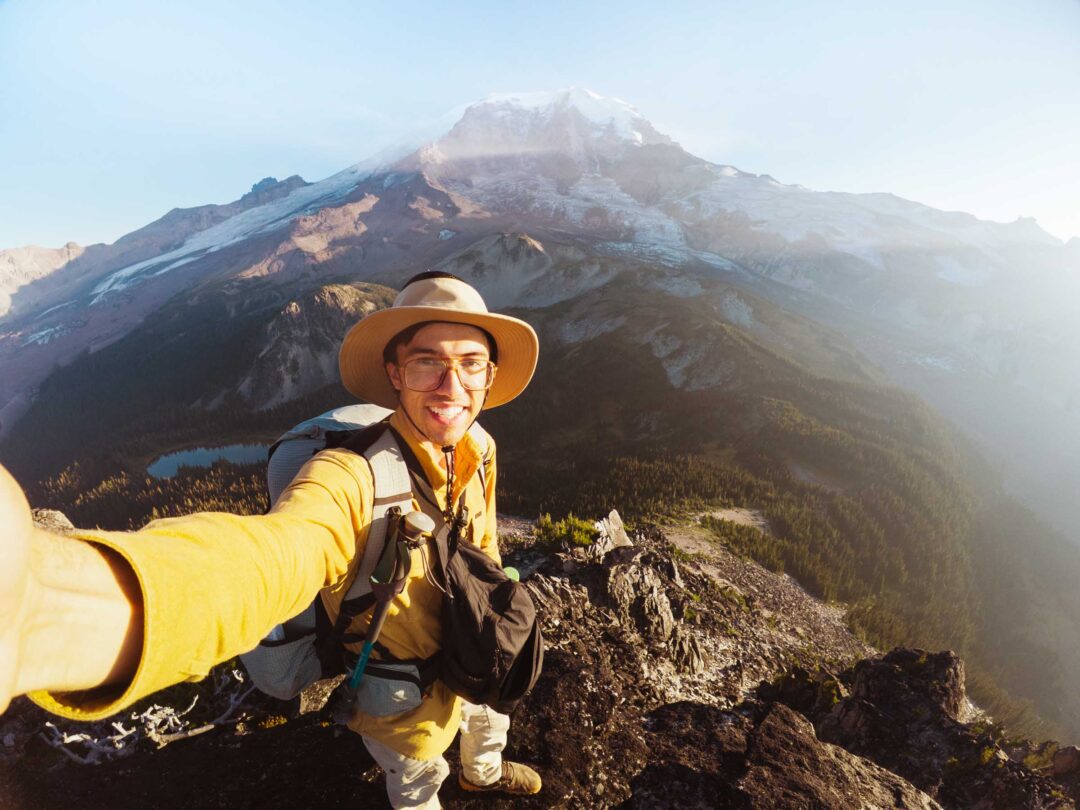
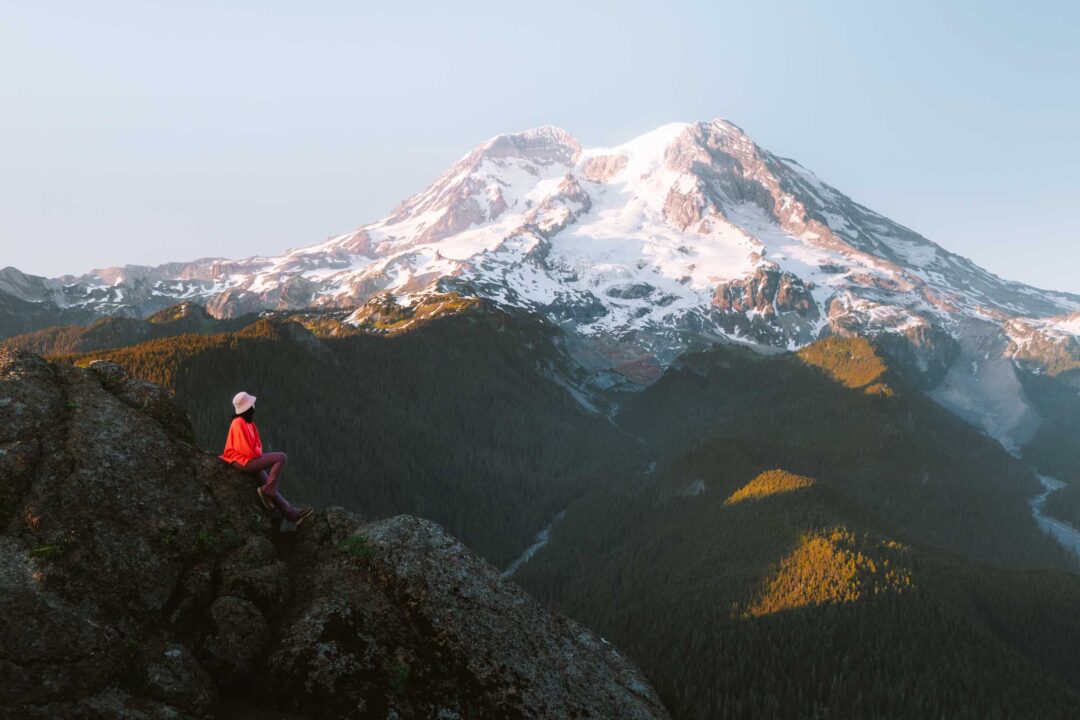
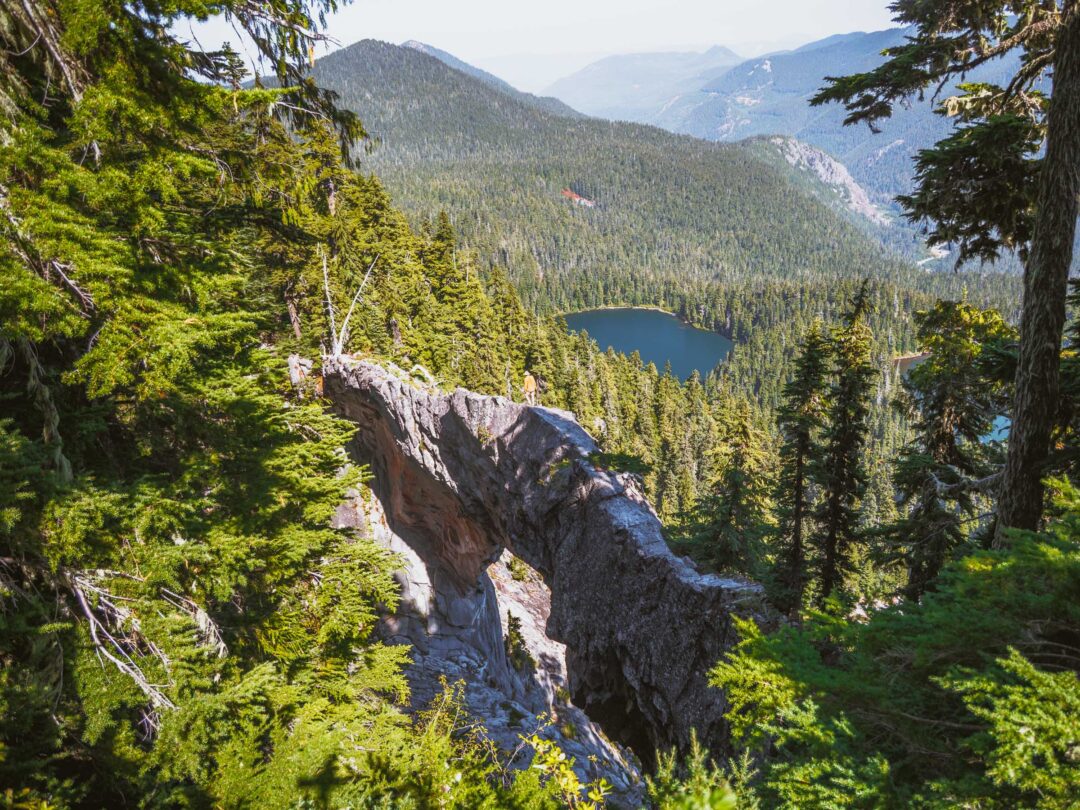
Skyline Trail Photos
Here are more photos of my hike around the Skyline Trail loop. I hope that it gives you an idea of what the hike is like so you can plan your own adventure there.


Our Free Mount Rainier Google Maps Locations
Want a free map of all of the locations mentioned in this post? Sign up in the box below and we’ll deliver one right to your inbox, plus our top tips to help you plan your Mount Rainier trip!
More Hikes in Mount Rainier National Park
We’re based in Seattle and have done a ton of hikes in Mount Rainier National Park. To help fellow adventurers, we’ve put together guides to the best trails we found. You can check them out by clicking the links below.
- Our ultimate Mount Rainier hiking guide: 20 Incredible Hikes in Mount Rainier: Complete Travel Guide
- Hike to a subalpine meadow with views of the Tahoma Glacier: Emerald Ridge Hike
- An old fire watch tower sitting atop a rocky peak: Gobblers Knob
- Rocky peak with an unobstructed view of Mount Rainier: Pinnacle Peak
- Explore the wildflower meadows below Rainier at Summerland, or proceed further to glacial moraines of Panhandle Gap
- Wooden fire watch tower with one of the all time best views in Mount Rainier: Fremont Lookout
- The tallest waterfall in Mount Rainier: Comet Falls
- A short hike that has big views without big crowds: Dege Peak
- 3-night backpacking adventure in Mount Rainier: Northern Loop Trail

I hope you enjoyed my guide to the Skyline Trail loop in Mount Rainier National Park. Feel free to leave a comment below if you have any questions 🐸